- You are here:
-
Blog

-
Michael Van Der Klei (RHCE/ICBB)
- Tip of the Week: 2 Wi-Fi Tips for Your Home or Office
Aniar Blog
Tip of the Week: Use Forms to Populate a Sheet in Google

Utilizing a form to gather data for your business offers myriad benefits, including insights into customer impressions, service needs, and employee feedback for collaborative decision-making. However, the challenge arises when it's time to consolidate responses—unless you're proficient with the available tools.
In this week's tip, we'll guide you through creating a form that automatically populates a spreadsheet using Google's toolkit.
Contrary to expectations, it's quite straightforward.
Two Tools: Google Forms and Google Sheets
Let's get into the process.
Begin with Google Forms: In Google Drive, click on New in the top-left corner, then select Google Forms. This initiates a new form.
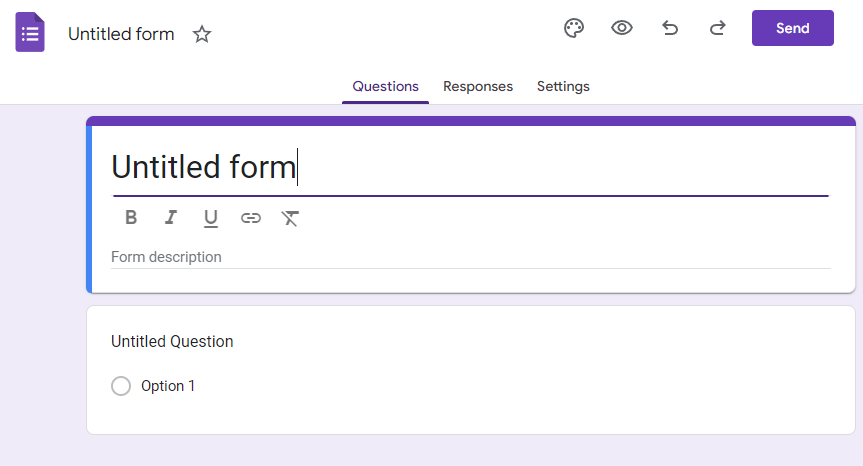
Rename the document for organization, and update the form title to reflect what participants will see. While the document name auto-fills, you may prefer a different title.
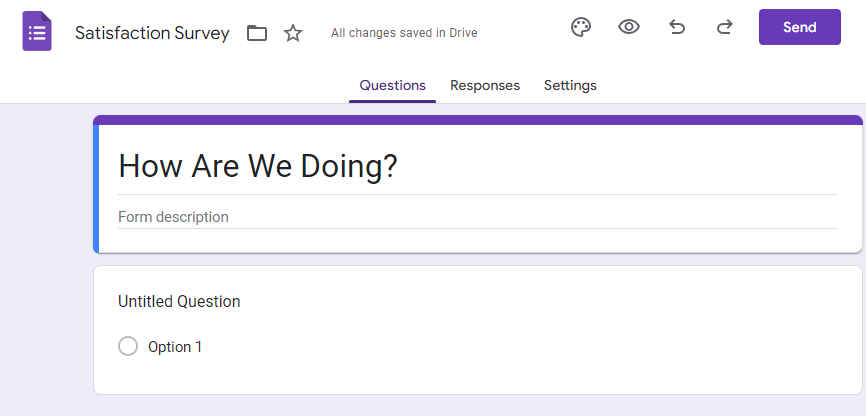
For instance, if it's a client satisfaction survey, rename the document to "Satisfaction Survey" and title the form "How Are We Doing?"
You'll also have the option to include a form description, where you can pitch the form and provide relevant information or instructions. This can be repeated to segment different sections within the form.
Next, proceed to add the desired questions to your form. Google provides a range of formatting options and field types to customize the form according to your needs.
Populating Your Form

On the right side of the module, various buttons offer different functionalities:
- Add question - Incorporate another question module into your form.
- Import questions - Import questions from another form.
- Add title and description - Include additional form titles or descriptions for clarity.
- Add image - Insert images into your form.
- Add video - Embed YouTube videos.
- Add section - Divide your form into sections or steps for easier navigation.
You can choose from various question types based on your requirements and the form's purpose and decide whether each question is mandatory. These include:
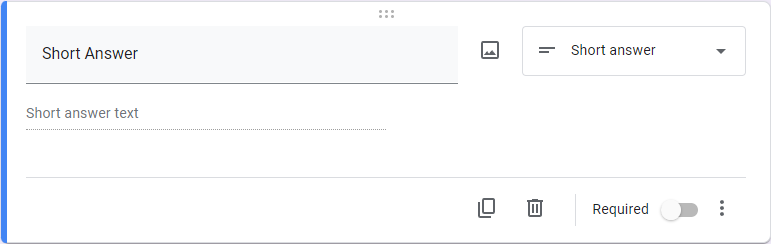
Short Answer
This allows you to prompt an audience member to provide a brief, one- or two-sentence response to a question.
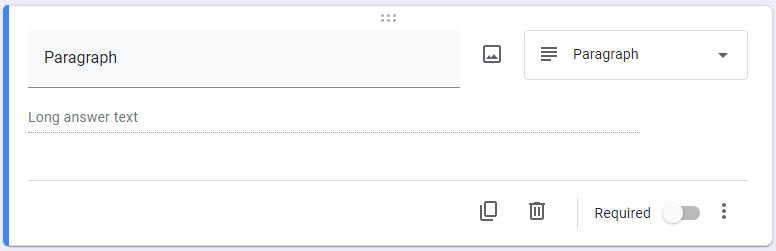
Paragraph
This allows you to prompt an audience member to write a short paragraph responding to your question.
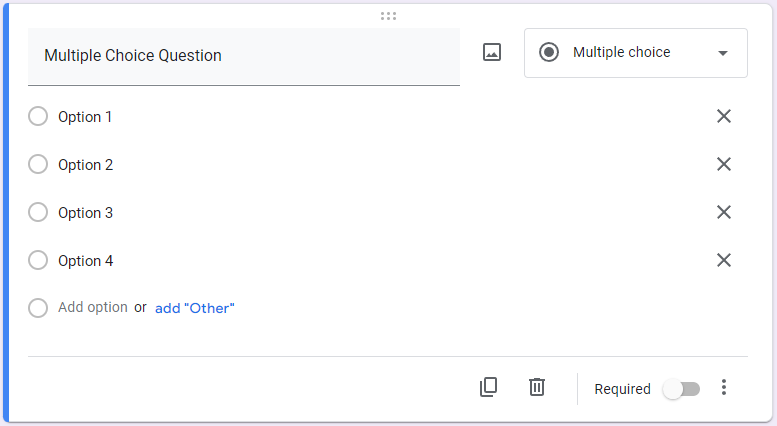
Multiple Choice Question
This option allows you to create a multiple-choice question for your audience member to answer, including an “Other” field where they can insert their own response.
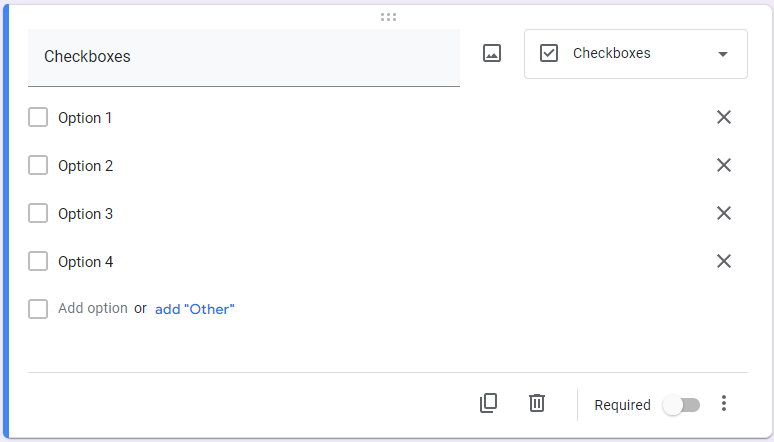
Checkboxes
This allows you to create a list of checkbox options for your audience member to select from, including an “Other” field where they can insert their own response.
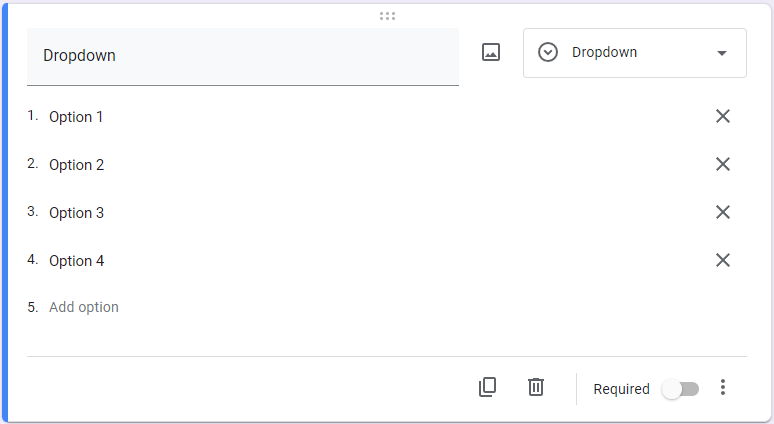
Dropdown
This option allows you to create a dropdown box with options for your audience member to select from.
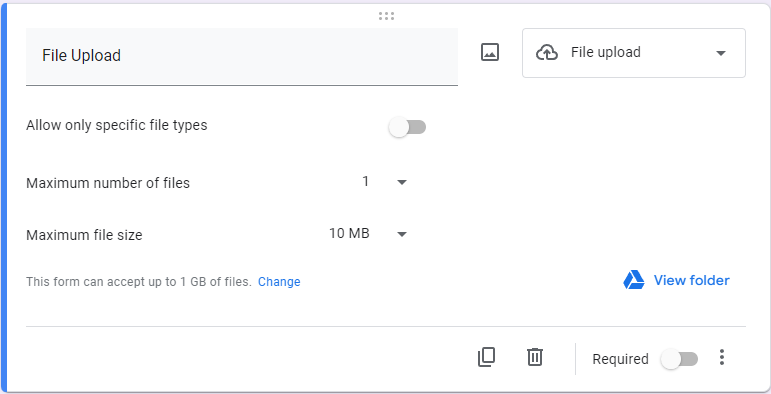
File upload
This allows you to enable your audience member to upload documents from Google Drive, with you establishing limits to what can be uploaded.
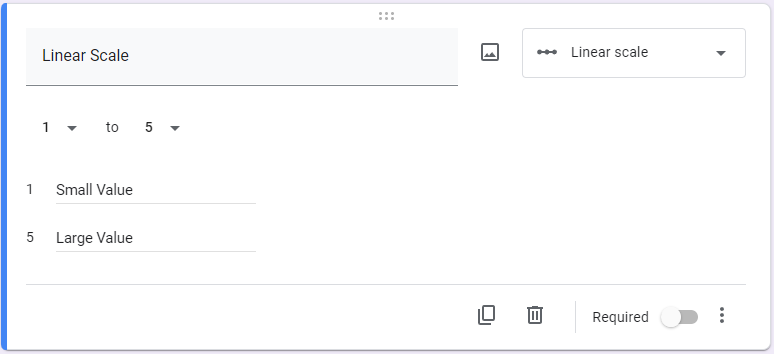
Linear Scale
This allows you to give your audience members a numbered range within which they can provide a value in response to your question.
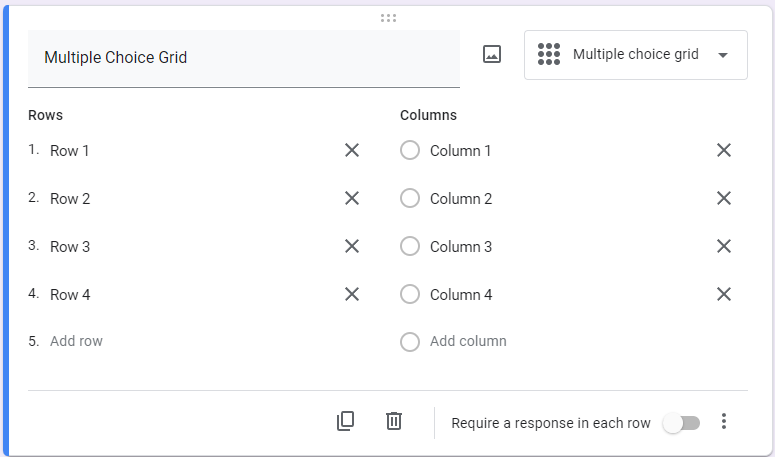
Multiple Choice Grid
This option allows you to create a group of multiple choice questions formatted as a grid, which makes asking numerous questions that would be answered the same way much easier.
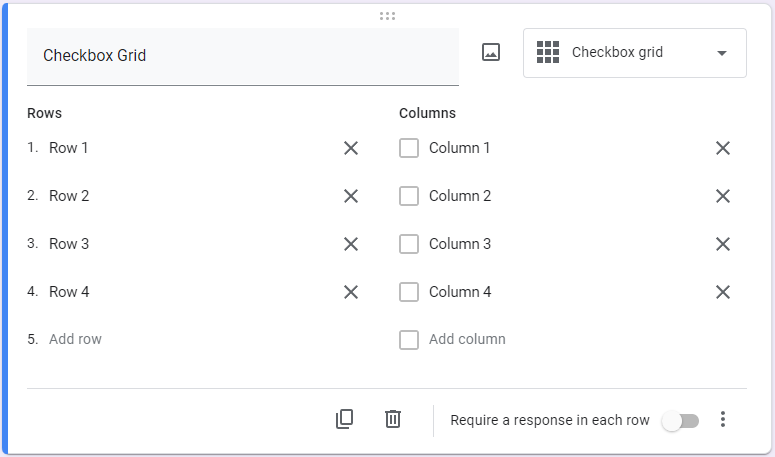
Checkbox Grid
This allows you to create a group of multiple choice questions formatted as a grid, with the option to select multiple answers for each question. This makes asking numerous questions that would be answered the same way much easier.
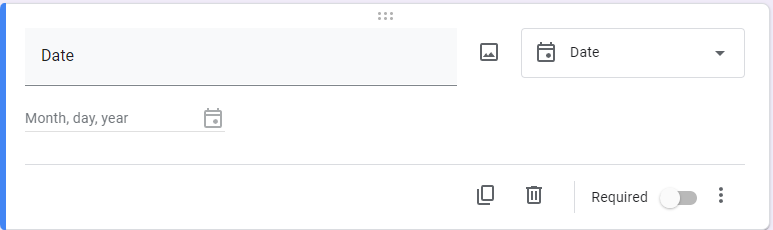
Date
This option enables you to give your audience the capability to select a date, whatever reason a date needs to be specified.
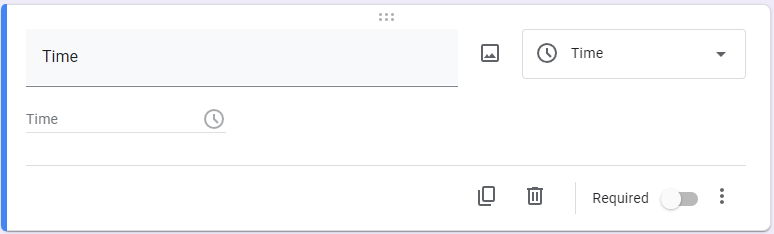
Time
Finally, this option enables you to give your audience the capability to select a time, whatever reason a time needs to be specified.
Reviewing Responses in Google Sheets
Three tabs—Questions, Responses, and Settings—can be found as you scroll down the page.

The Questions tab configures the form's questions, while the Responses tab allows you to review submissions in different formats and analyze the data. Settings offer options to transform your form into an interactive quiz and customize response collection.
However, under the Responses tab, you'll find the crucial element: creating a Google Sheet.
Transferring Form Responses to Google Sheets

This step is remarkably simple. Under Responses, click on Link to Sheets.
That's all. A window will prompt you to add the results to an existing spreadsheet or create a new one. The three-dot menu provides additional options like email notifications, response location, and unlinking the form.
This walkthrough aims to simplify the process. It's just a glimpse of what your technology can achieve with the right guidance. If you need assistance with managing and maintaining your technology, feel free to reach out to us at 094 90 48200 to learn more about our slate of comprehensive managed IT services.
About the author
Mobile? Grab this Article!
Tag Cloud
Comments